
 EN
What Is Liquid Painting Line? Core Principles and Industry Applications
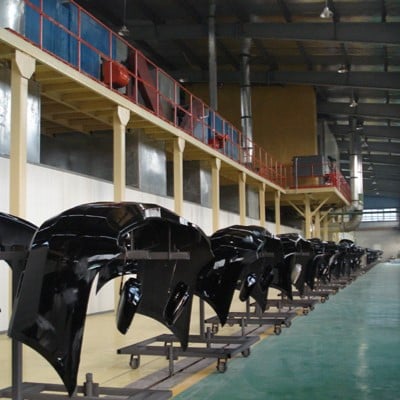
A liquid painting line is an integrated sequence of spray booths, conveyor systems, and curing ovens that applies, cures, and finishes liquid coatings on prepared surfaces. According to the Journal of Coatings Technology and Research, automated liquid painting lines achieve paint transfer efficiency up to 95%—significantly higher than the 65–75% typical of conventional manual methods. This efficiency reduces overspray, conserves material, and ensures uniform film build. Core principles include controlled viscosity, proper surface preparation (e.g., etching or phosphating), even application dynamics, and precise thermal or UV curing profiles.
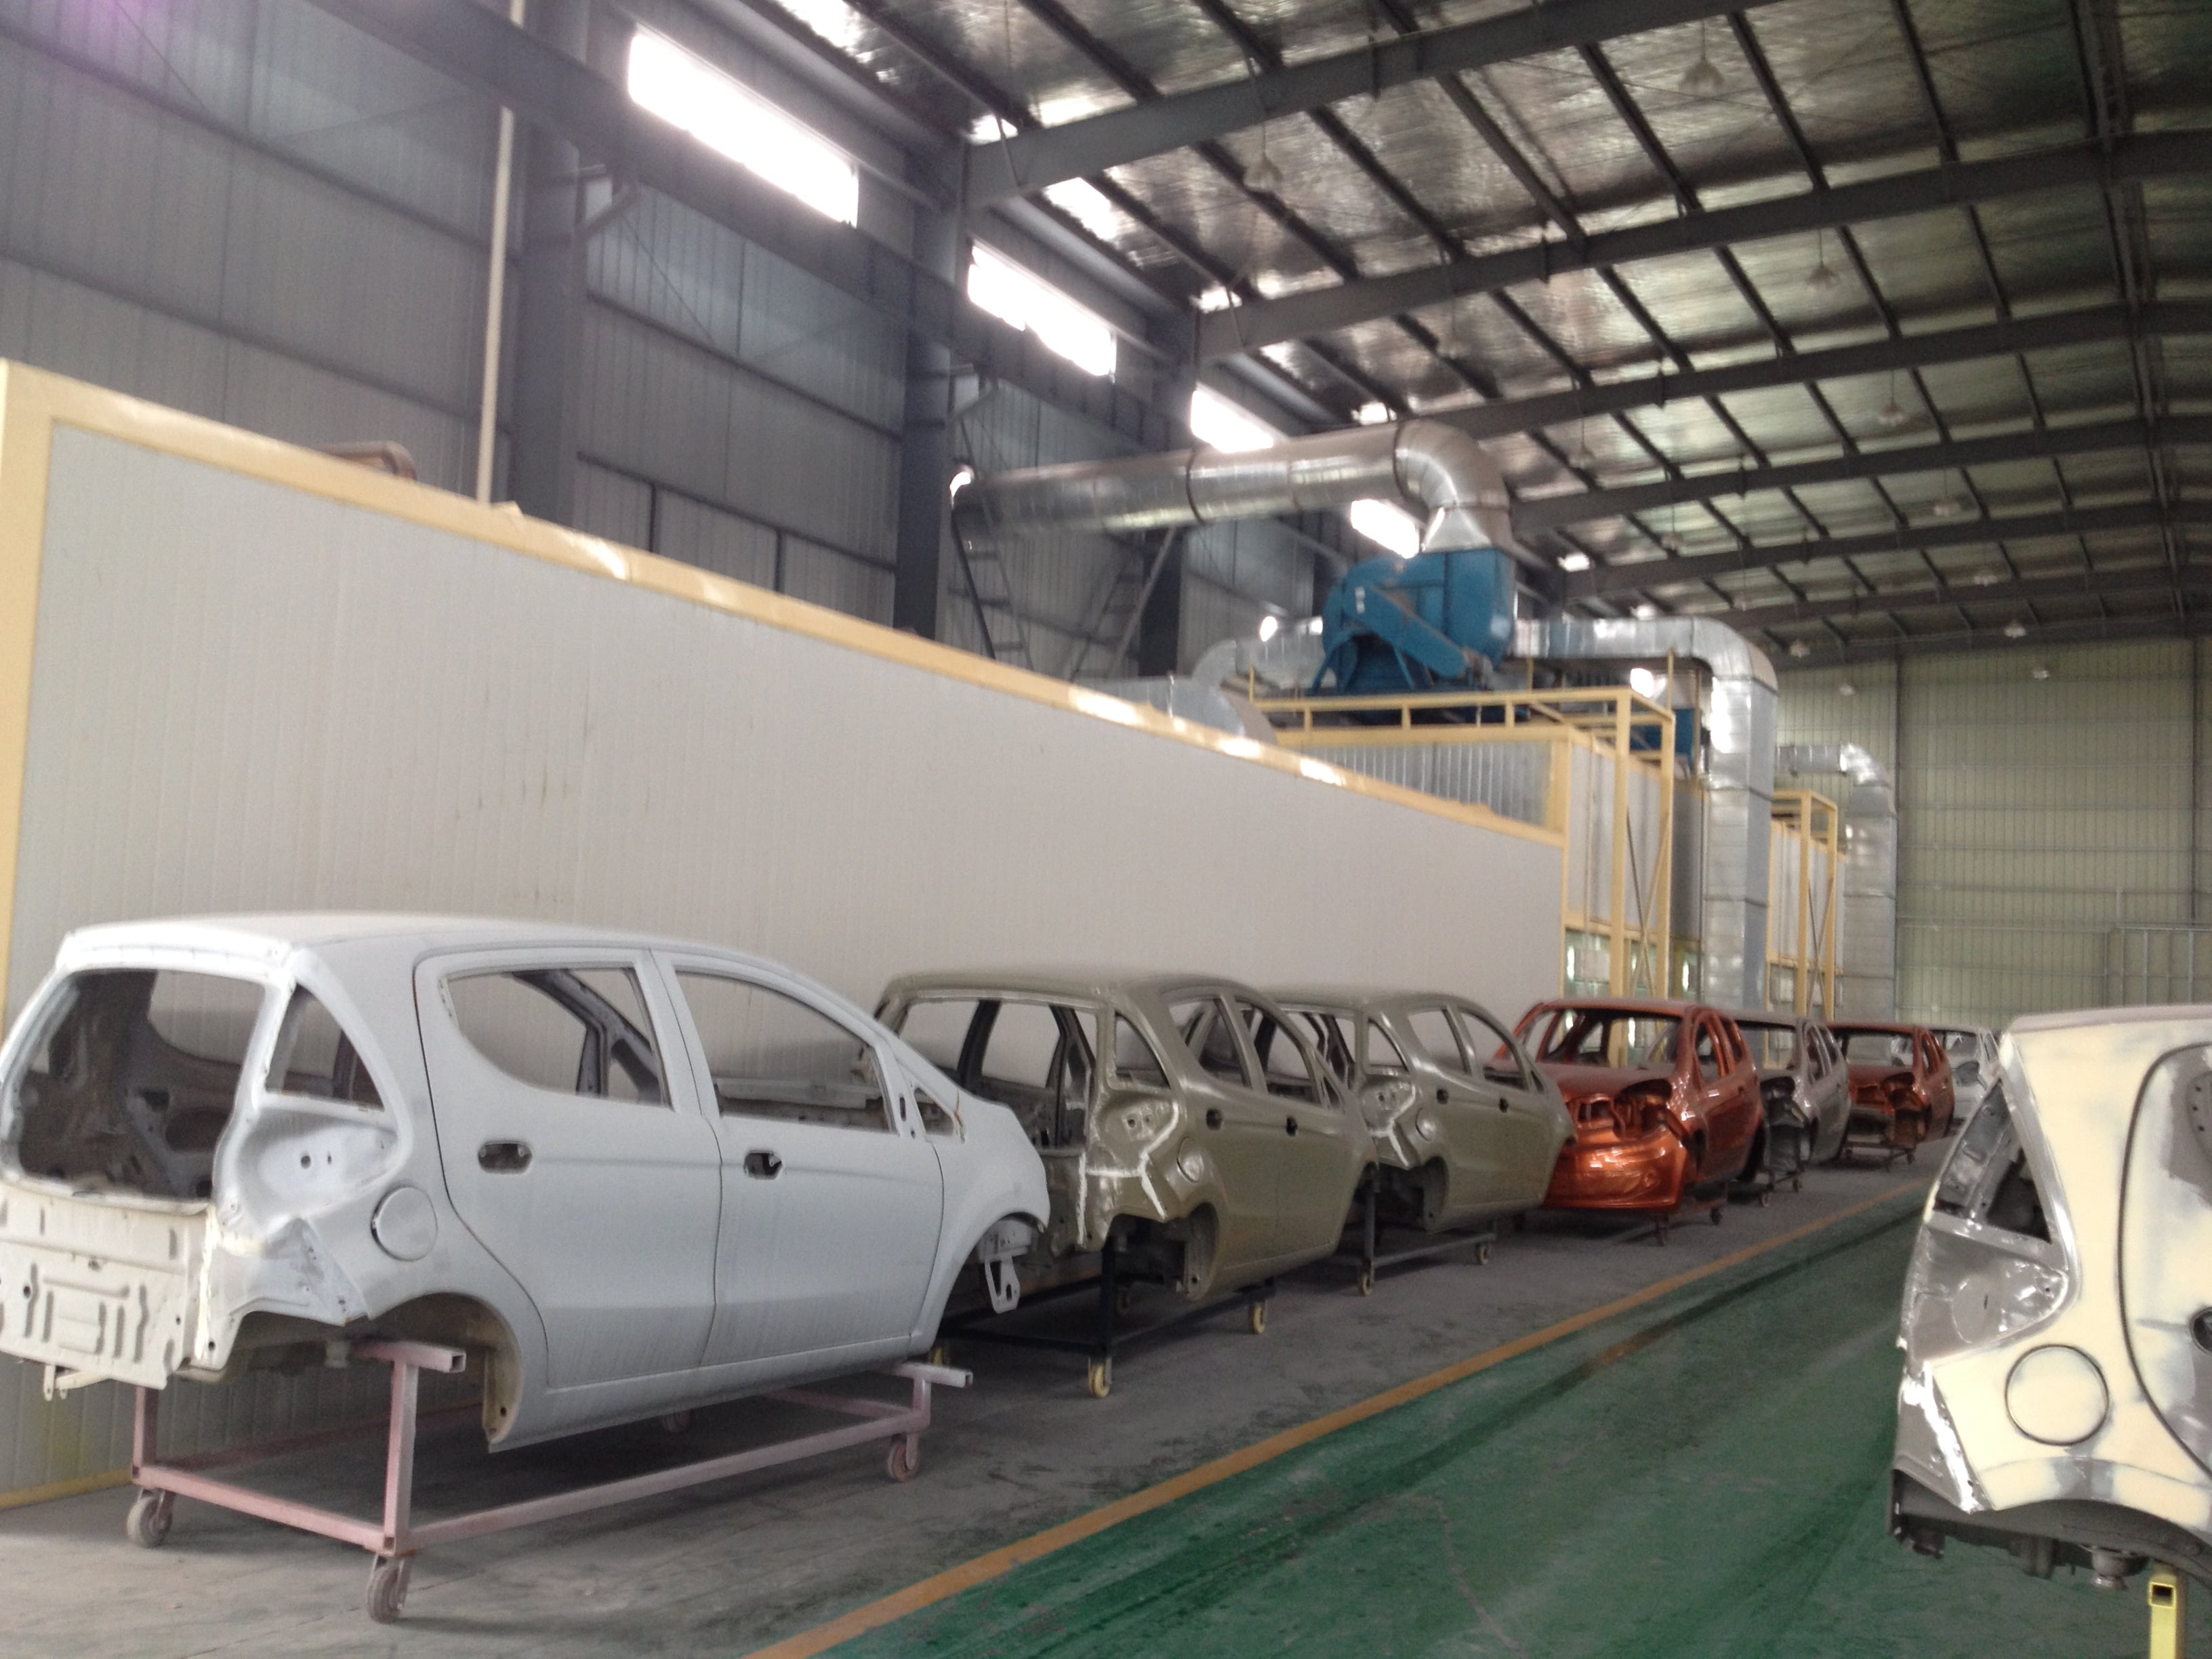
In automotive manufacturing, liquid painting lines deliver durable, corrosion-resistant exterior finishes meeting OEM standards like ISO 12944 and SAE J2334. Furniture producers leverage them for consistent coverage and accelerated drying—enabling throughput gains of 20–25%. Appliance and metal fabrication sectors benefit from tight color matching (ΔE < 1.0 per ASTM D2244), multiple gloss options (from 5° to 90° gloss units), and long-term weatherability per AAMA 2605. Automation can cut cycle time by up to 30% and lower rework rates by approximately 20%. For professional artists and designers, mastery of these principles enables repeatable outcomes—and bridges studio practice with scalable commercial production.
Essential Materials and Setup for Consistent Liquid Painting Line Results
Control starts with material selection and stable working conditions.
Choosing the Right Fluid Mediums and Pigments
Use high-quality acrylic or oil paints with stable, film-forming binders and transparent, lightfast pigments to support smooth layered flow. Introduce a flow medium or gel retarder to fine-tune viscosity, extend open time, and preserve edge definition. Dilute exclusively with distilled water to prevent mineral deposits and uneven drying. Reserve dense, high-refractive-index pigments—such as titanium white—for final pours or accents to encourage clean cell formation and controlled branching. Maintain at least three pre-mixed, sealed color batches per job to ensure batch-to-batch consistency.
Surface Preparation and Environmental Control
Prepare substrates with a smooth, dust-free, acrylic-compatible ground—whether on canvas, watercolor paper, or industrial-grade MDF or cold-rolled steel. In studio or pilot-line settings, maintain relative humidity between 40–60% and temperature at 20–24°C (68–75°F). These conditions stabilize solvent evaporation, minimize edge bleed, and prevent premature skinning or cracking—critical for both aesthetic integrity and functional adhesion in commercial applications.
Step-by-Step Liquid Painting Line Execution: From Flow to Precision
Controlling Viscosity, Tilt Angle, and Gravity Dynamics
Begin by measuring viscosity using a Zahn cup or ISO flow cup. Thinner formulations accelerate flow; thicker ones yield raised, defined lines. Adjust incrementally—1–2% at a time—with distilled water or acrylic medium. Set tilt angle consistently between 10° and 20°: lower angles slow movement and increase deposit thickness; steeper angles enhance speed but risk thinning and mottling. Since gravity acts on the wet film for only seconds, document ambient temperature and humidity alongside each run. A reliable baseline—21–24°C and 40–50% RH—ensures session-to-session repeatability.
Achieving Clean Edges and Seamless Transitions
Mask edges with low-tack, acrylic-safe tape or a removable resist layer. Dispense fluid in a continuous, unbroken bead—never stopping mid-line. Work sequentially from one end to the other, guiding the bead only where necessary with a needle tool or soft synthetic brush. Overlap each new section by ~50% while the leading edge remains wet—mirroring professional roller technique—to fuse boundaries into a seamless film. Clean tools thoroughly between colors and runs; residual pigment or dried medium causes streaking or contamination. Allow each layer to settle fully before re-tilting or applying subsequent coats.
Troubleshooting Common Liquid Painting Line Challenges
Fixing Bleeding, Blurring, and Unintended Branching
Bleeding occurs when surface tension drops prematurely—often due to excessive retarder, low humidity, or contaminated substrate. Act before skinning: reduce flow rate and reintroduce surface tension with a slow-evaporating additive. Blurring typically signals viscosity drift; verify flow every 20 minutes under controlled conditions. A 2023 industry defect survey found 63% of unintended branching correlated with tilt angles exceeding 12°. Correct by lowering tilt to 8–10° and switching to a fine-tip applicator for precision edge control. Maintain humidity between 45–55% to moderate drying kinetics. If branching persists, gently lift excess fluid with a lint-free swab and reapply in a single, uninterrupted pass.
Recovering from Drying Irregularities and Layer Incompatibility
Orange peel or ridging indicates uneven solvent release or rapid surface drying. Lightly sand affected areas with 800-grit abrasive, then wipe clean with isopropyl alcohol. Reapply a thin, transparent base coat to restore substrate “tooth” and promote adhesion. For layer incompatibility—evidenced by cracking, crawling, or delamination—always test small patches first. If topcoats fail, switch to a polymer-matched medium (e.g., acrylic dispersion over acrylic emulsion) rather than cross-polymer systems. In a documented 2022 production case, combining light abrasion with a 5% retarder additive restored intercoat adhesion without full stripping. Avoid thick, single-layer pours; instead, build three thin, fully coalesced layers for optimal durability and visual clarity.
Integrating Liquid Painting Line into Commercial Art and B2B Design Workflows
Scalability for Print, Packaging, and Digital Asset Production
Commercial teams scale liquid painting line techniques by standardizing key parameters: fluid viscosity (measured in centipoise), cure schedules (time/temperature or UV dose), and finish gloss (per ASTM D523). Automated spray systems paired with IR or convection ovens maintain edge fidelity across rigid substrates—from corrugated board to aluminum litho sheets. Matte, satin, and gloss formulations translate directly into digital mockups via calibrated Pantone Live or Adobe Color libraries, enabling physical-digital continuity. Repeatable protocols reduce batch variation, making short-run prototypes functionally identical to full production—accelerating packaging proofs and campaign-specific colorway development.
Client Communication and Deliverable Standards
Establish objective acceptance criteria upfront: gloss level (measured at 60° per ASTM D523), color accuracy (ΔE ≤ 1.5 against approved standard per CIEDE2000), and dry-film thickness (DFT ± 5 µm per ISO 2808). Share physical wet samples alongside ICC-profiled digital references to align expectations across stakeholders. Deliver comprehensive batch records—including viscosity logs, cure profiles, and finish swatches—so printers, packaging engineers, and art directors can approve confidently and replicate results across future orders. This rigor strengthens B2B trust, streamlines approvals, and supports long-term contract renewals.
Frequently Asked Questions (FAQ)
What is the primary purpose of a liquid painting line?
The primary purpose of a liquid painting line is to apply, cure, and finish liquid coatings on prepared surfaces efficiently while meeting desired quality, aesthetics, and durability standards.
How does automation improve liquid painting line operations?
Automation enhances efficiency, reduces overspray, ensures uniform film application, cuts production time, and lowers rework rates—making the process cost-effective and scalable for large-scale production.
What environmental conditions are ideal for liquid painting line operations?
Optimal conditions include a temperature range of 20–24°C (68–75°F) and relative humidity between 40–60%, which ensure stable solvent evaporation, minimal edge bleed, and proper adhesion.
Why is viscosity control critical in liquid painting?
Controlling viscosity ensures consistent application, flow, and film thickness. It prevents defects like blurring or mottling and is critical for achieving smooth and precise results.
How can common liquid painting defects be fixed?
Defects like bleeding, blurring, and orange peel can be corrected with adjustments like modifying tilt angles, humidity, and viscosity, or by light sanding and reapplication of coatings for optimal results.
Table of Contents
- What Is Liquid Painting Line? Core Principles and Industry Applications
- Essential Materials and Setup for Consistent Liquid Painting Line Results
- Step-by-Step Liquid Painting Line Execution: From Flow to Precision
- Troubleshooting Common Liquid Painting Line Challenges
- Integrating Liquid Painting Line into Commercial Art and B2B Design Workflows
- Frequently Asked Questions (FAQ)